HDR Photography, an Exercise in Self-Control
I have been doing a lot of HDR photography lately. In case you didn’t know: that acronym stands for High Dynamic Range. On an HDR photo it’s possible to show details in both the bright and dark portions of an image that would get lost on a “normal” photo. The human eye is in fact still superior to a camera sensor when it comes to the detection of differences in brightness. In HDR photography, you merge different shots to create an image that is more consistent with how we see a scene with our own eyes.

My workflow
There are multiple ways to create HDR photos. But I this is my workflow: I take three photos, one overexposed, one underexposed, and one with an average, correct exposure. That sounds more cumbersome than it is. Like on many cameras, my Nikon D5100 has an option for “autobracketing” which means that hose three photos are taken in quick succession. Taking more than three photos is possible as well, but let’s not make it too complicated.
Special software exists to merge the pictures, but for now I’m very satisfied with Photoshop’s “Merge to HDR Pro”. After loading the three photos a dialogue appears with several presets and sliders:

Those sliders offer all kinds of possibilities for perfecting the image. But they are also dangerous. If you slide them too far the picture is going to look unrealistic, “over the top”. That is the real challenge in HDR photography: knowing where the top is and stay on the right side of it. Allthough that’s also a matter of taste.
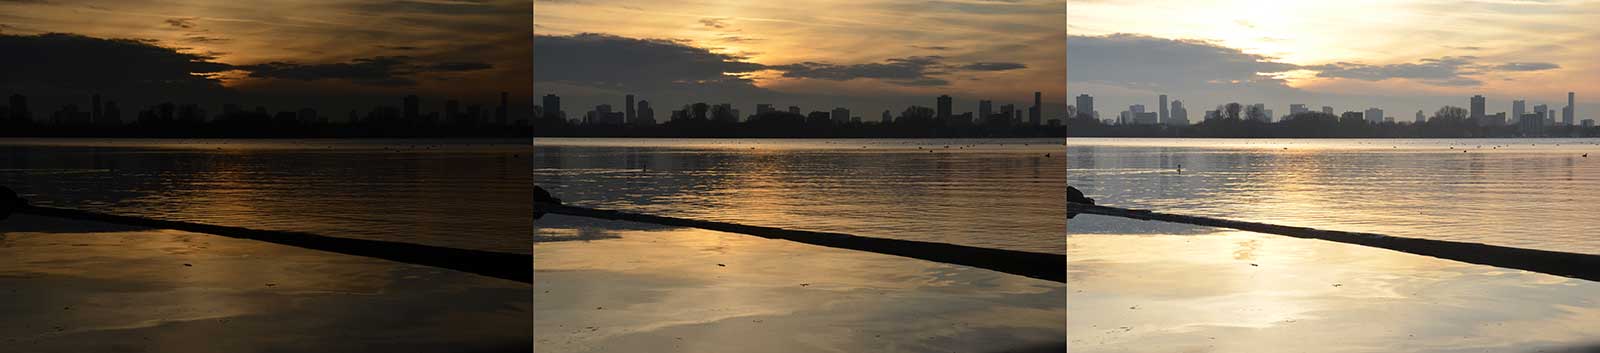
As an example, here are three photos taken at Lake Kralingen in Rotterdam. If I merge them in Photoshop and I play with the sliders a little bit I might get this result:

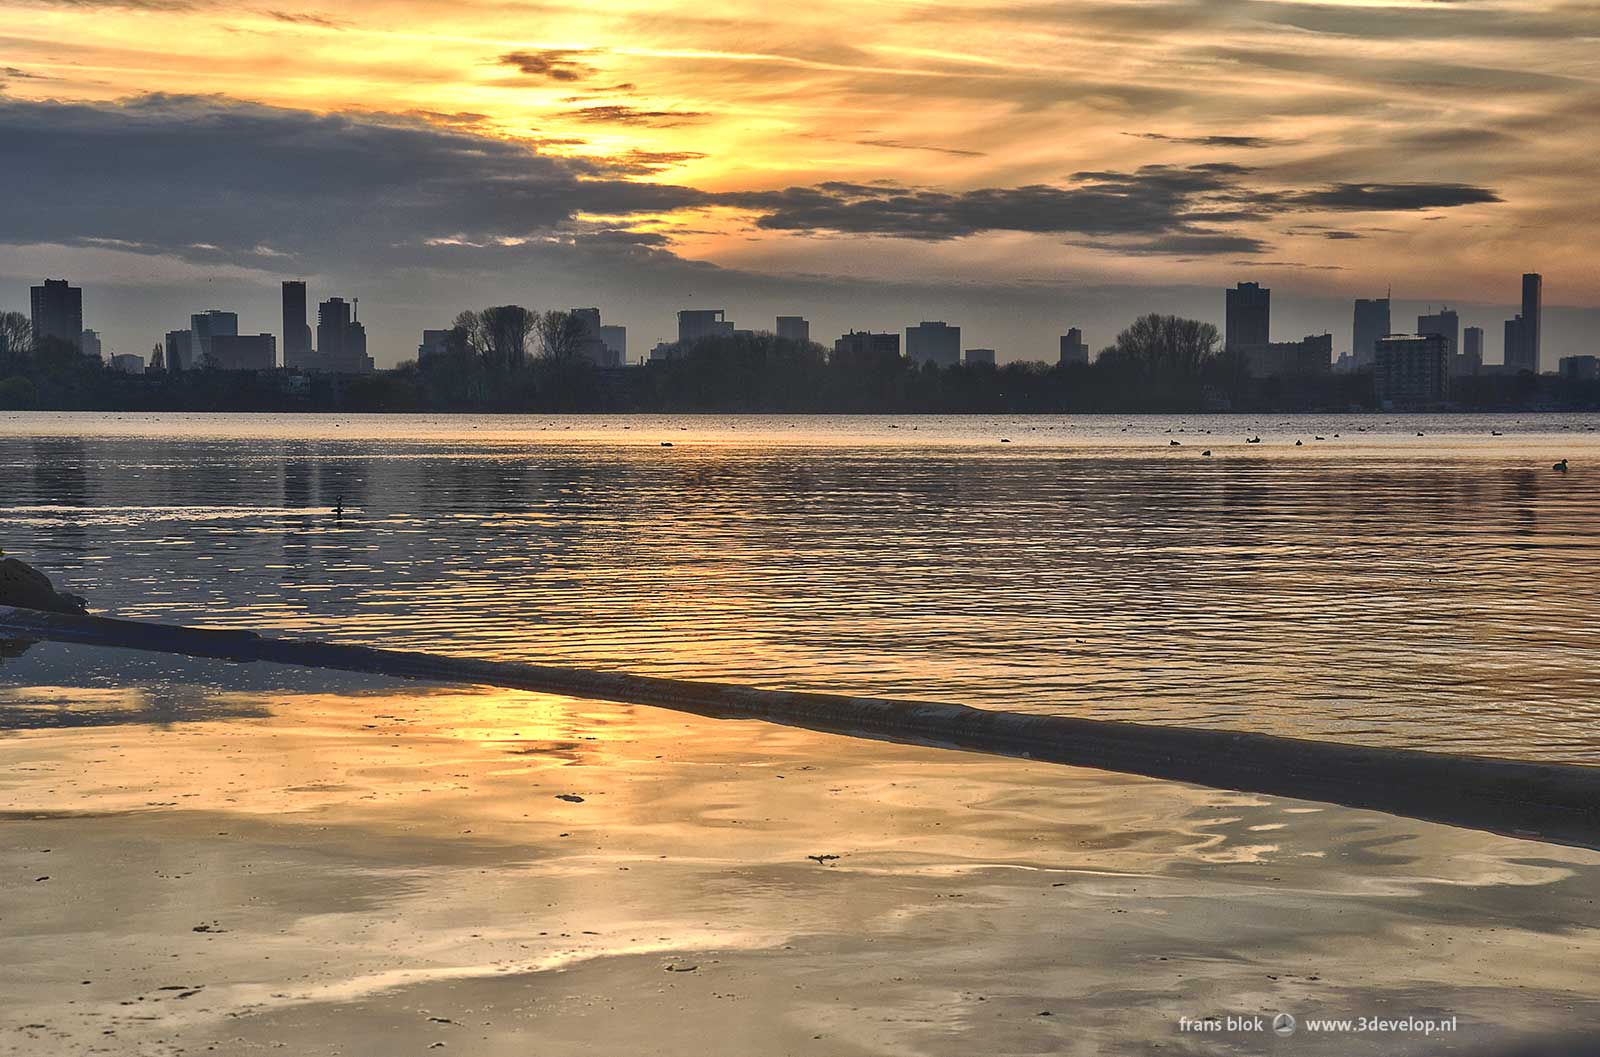
Quite dramatic indeed. But it looks a little too unreal to me. With the same three pictures as a base and a more controlled use of the sliders I can also get the picture below. That’s much more like the scene as I recall it:
Improvised tripods
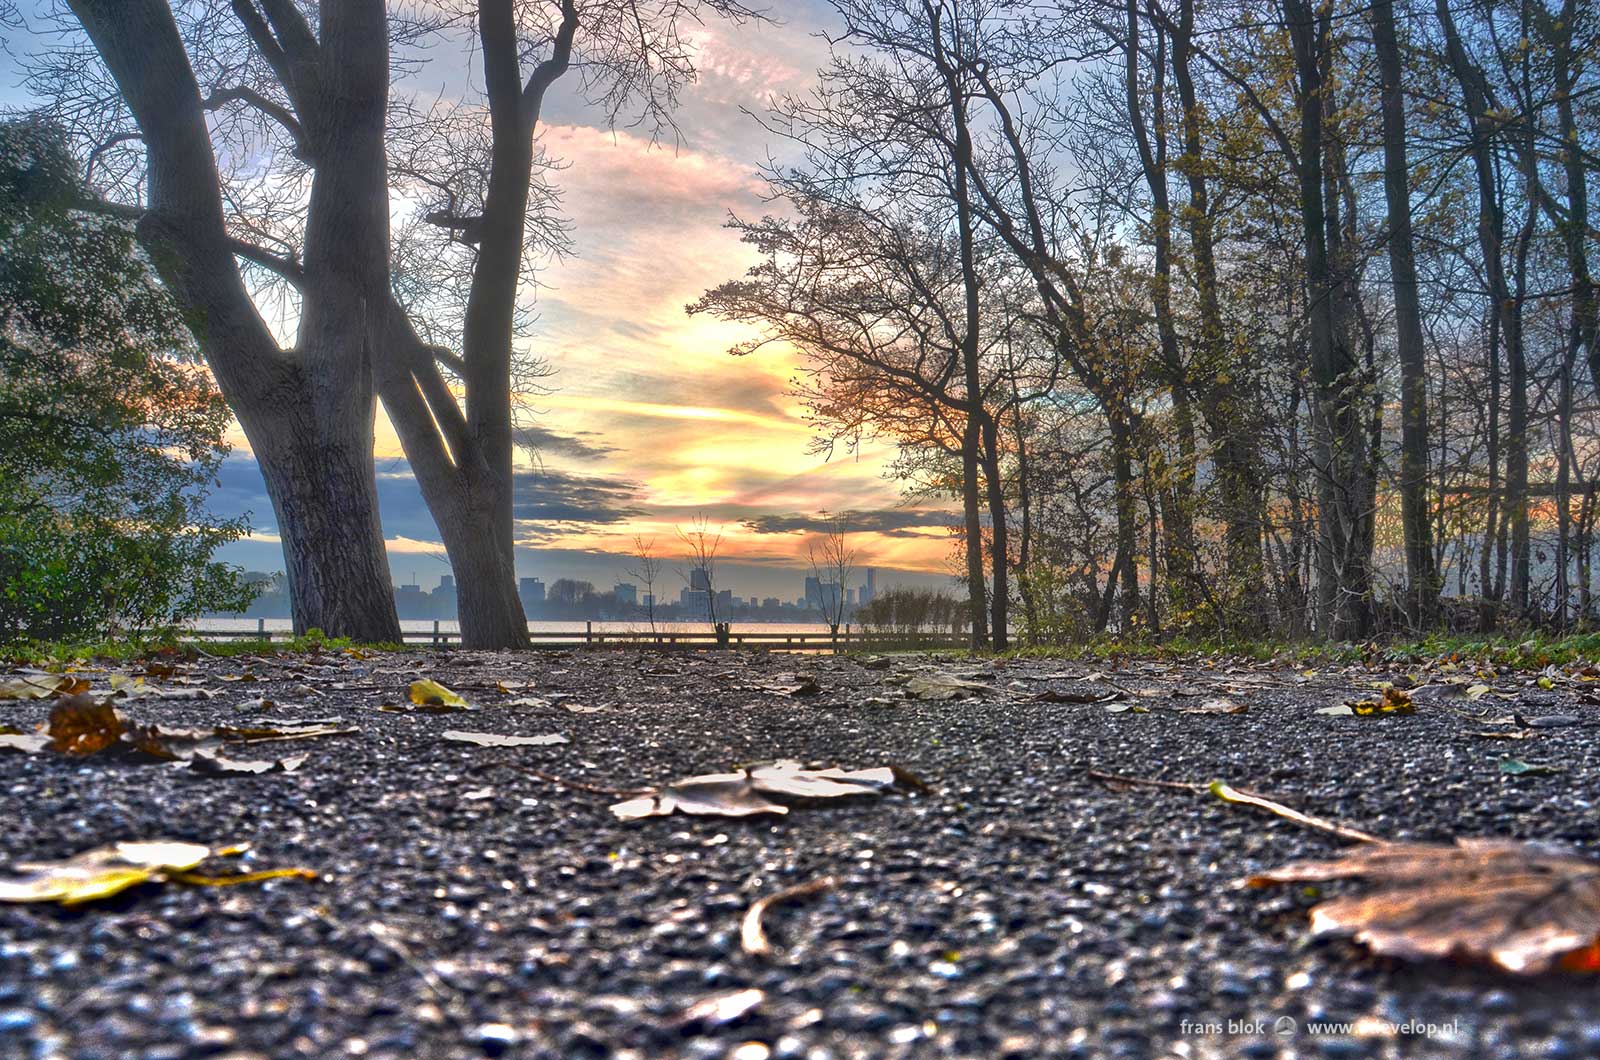
Photoshop aligns the three photos automatically, as long as you don’t take it too far. Still, it is wise to use a tripod to ensure that the three photos are, apart from the exposure, as identical as possible. Also there’s the danger of blurring the overexposed picture because of the slow shutter speed. But because I do not want to always carry a tripod I usually make creative use of poles, walls, benches or garbage cans. Or I put my camera on the ground, which can provide a rather surprising point of view:
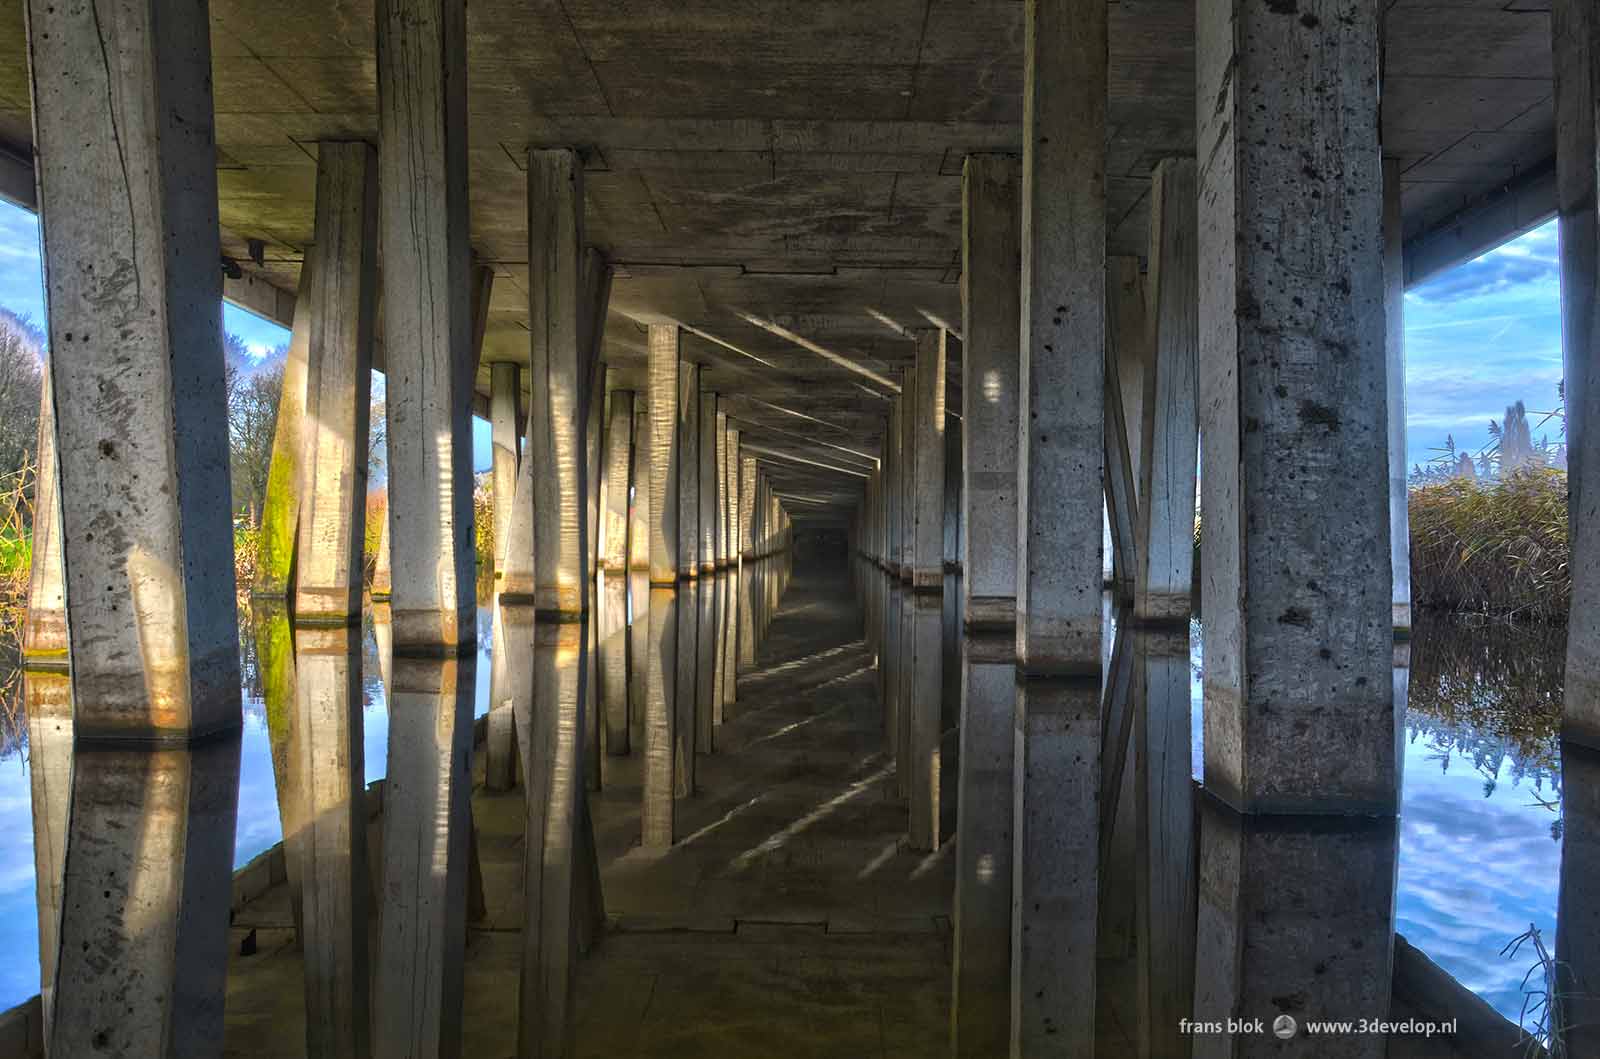
HDR photography is, of course, especially usefull in scenes where there are large differences in brightness. For photos from inside to outside for example. Or if a part of the image is in the shade and another part is in bright sunlight, like in the photo below of the railway viaduct near Blijdorp Zoo.
HDR photos often catch the attention because of the vivid colors and the richness of the details. They sometimes have something magical, almost surreal. The possibilities are endless, as long as you know to control yourself. But again: it remains a matter of taste.


